Materials:
A - 4mm Swarovski Bicone #5328 ChalkWhite AB 2X x 69 pcs
B - 11/0 TOHO Seed Beads x 16 pcs
C - Link, Silver Plated Brass, 8x2 mm, curved shape x 18 pcs
D - Crimp bead silver plated x 2 pcs
E - Lobster Clasp x 1 pc
F - Clam Shell x 2 pcs
G - Extender Chain x 1 pc
H - 0.25 mm Non-Elastic Bead Thread x 1 pc (Length: 80cm)
Tooling:
Flat nose pliers
Round nose pliers
Let’s start:
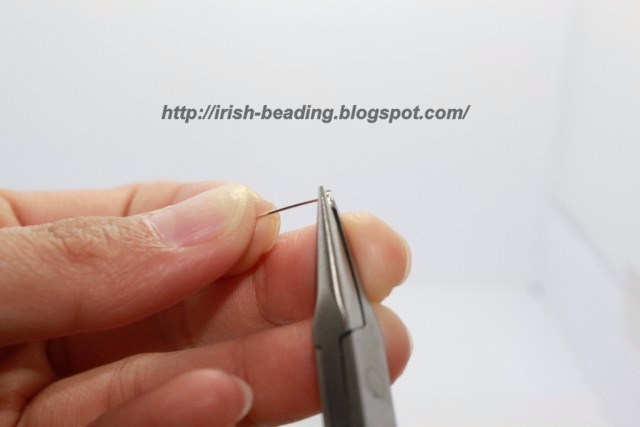
Step1: Get ready the close clam shell with bead thread as shown in picture below. Please refer to Basic Technique: How to use Clamshell and Crimp Bead.

Step2: String the Swarovski Beads using bead thread by follow the beading diagram below.